Yet Another Gates Executive Audio Console Rebuild
Having rebuilt two Gates Executive Audio Consoles, I really didn’t need a third. However…
The first Executive console that I rebuilt is in service in the 1970s Radio Studio documented on this site. The second Executive console is in service in the 1970’s Era Radio Production Room also documented on this site.
In an email thread with a vendor that I have used for custom parts, I learned that he was looking for a home for an Executive console that had been in storage for some time. He was happy to give it to me for free if I paid the costs for packaging and shipping. I said yes.
The console was in reasonably good shape when it arrived. All of the main elements were included and there were no signs of physical damage. So, the project began.
In the course of fixing up the other two consoles, I have developed a process that works well for me. The refurbishment work is covered in detail in the following blogs:
- Gates Executive Audio Console Restoration, Part 1
- Gates Executive Audio Console Restoration, Part 2
- Gates Executive Audio Console Restoration, Part 3
The newly acquired console was disassembled to remove everything from the cabinet so it could be refinished by a local powder coat shop. With that work underway, a close examination was made of the wiring and other components in the console. Modifications made years (well, decades) ago were removed and the console was returned to its as-designed state. This type of work is much easier to do when the equipment is removed from the cabinet, since it provides full access to internal wiring and components.
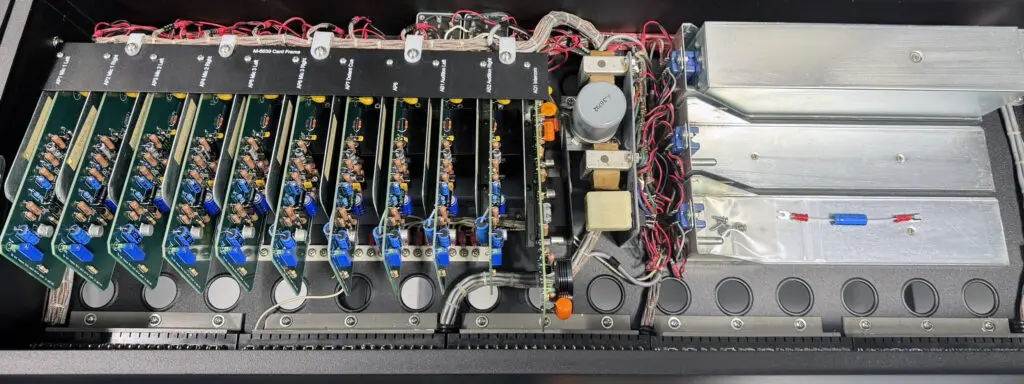
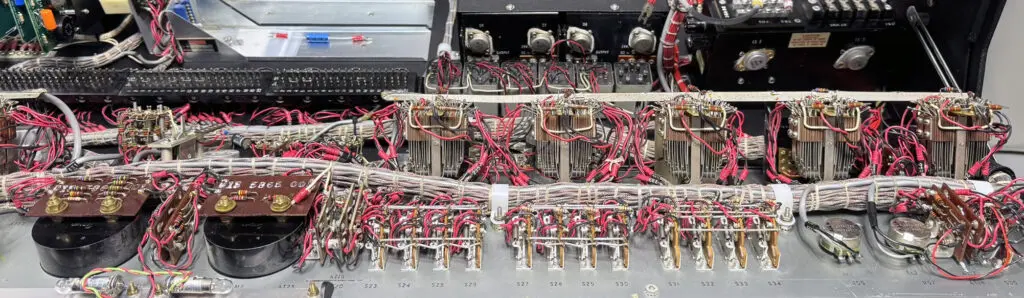
The Executive console uses 10 preamplifier circuit boards. They are mounted in a card frame inside the console. While the console included most of the original preamplifier boards, they were not in good shape. Maintenance and modifications over the years rendered them questionable at best. The solution, as with the other two consoles that I have rebuilt, was to produce replacement PCBs. The new boards utilize an identical circuit, with modifications necessary based on the availability of modern components. Performance wise, the new boards are superb, easily surpassing the specifications of the original PCBs. The replacement boards are shown in the photo below.
A close examination of the console identified various issues that needed attention, but no show-stoppers. In some cases it was necessary to reverse-engineer some of the changes made by users over the past 50 years. As a starting point, everything was returned to its original configuration. With that as a baseline, modifications could be considered on a case-by-case basis.
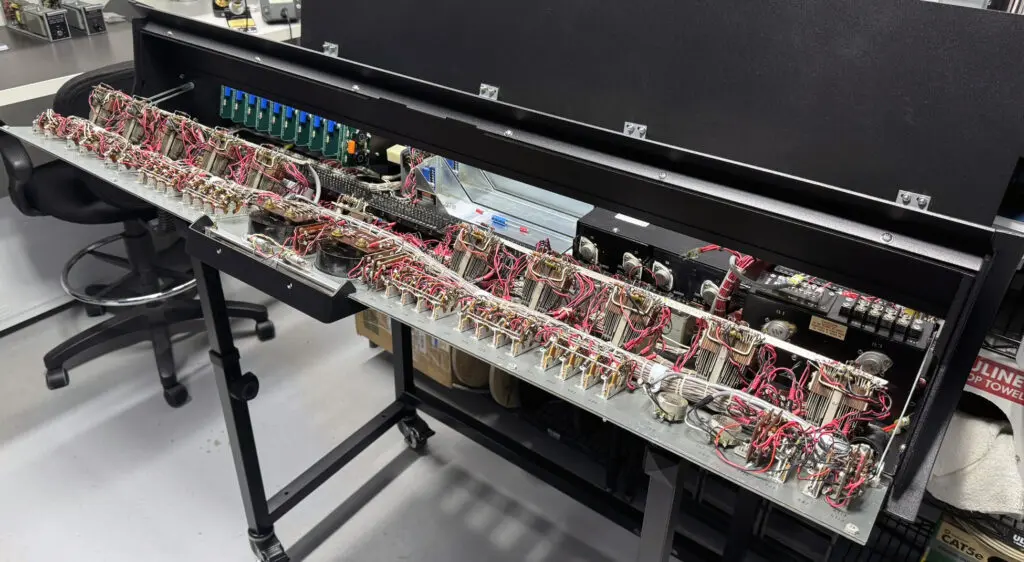
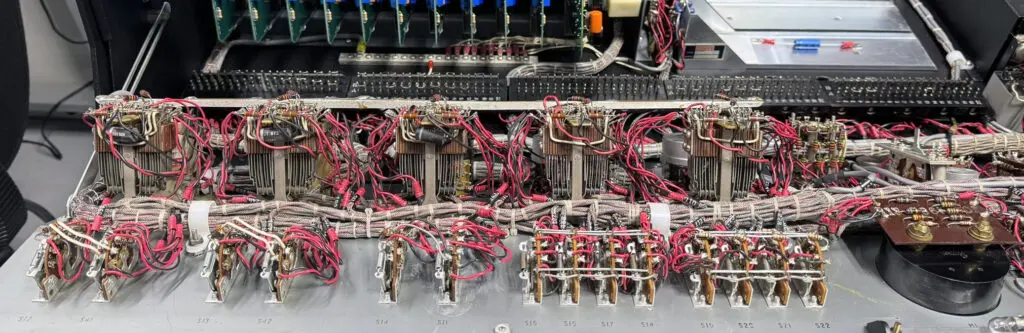
The wiring in the Executive console is quite impressive. The quality of work that went into these vintage boards is superb—even by today’s standards.
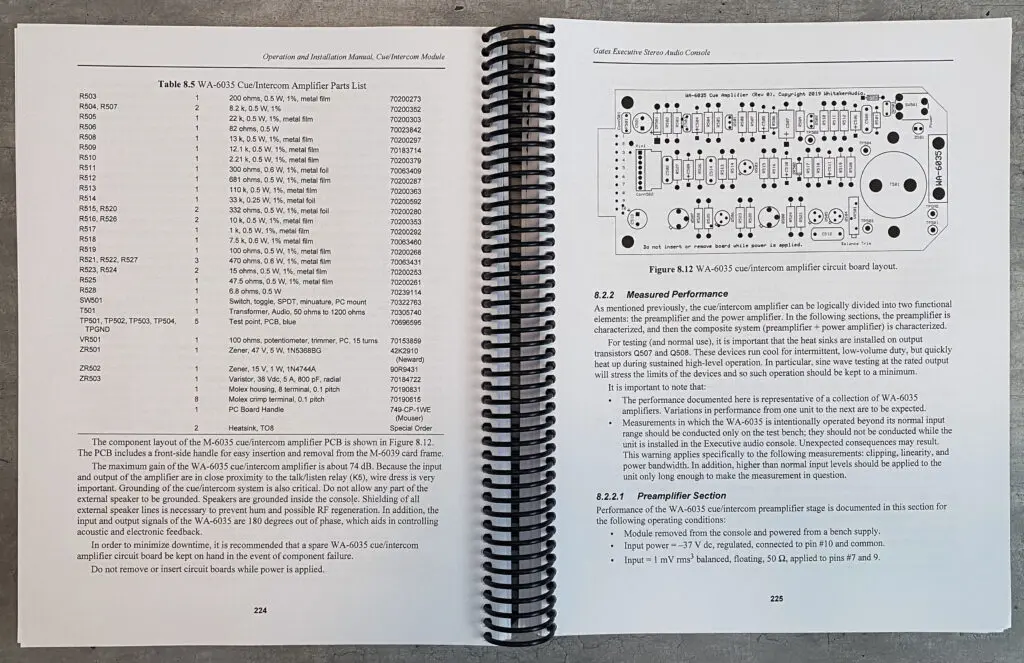
In addition to replacing the 10 preamplifier boards, the cue/intercom PCB was replaced with a newly produced unit.
The three line amplifiers required some work to get them back to new equipment specs, but that was accomplished without too much difficulty. The two monitor amplifiers needed nothing more than a cleanup. The power supply required some work, but again, nothing major.
With all of the electronics modules repaired or replaced, fully tested, and installed, the console was ready for end-to-end performance measurements. That step was temporarily put on hold in order to finish cosmetic work on the front panels.
The lower and upper front panels were in relatively good shape when the console arrived. They did, however, require aggressive cleaning to return them to like-new condition. This level of cleaning required removing the panels from the console. This involved a fair amount of work, but the end result was quite satisfying, as shown below.
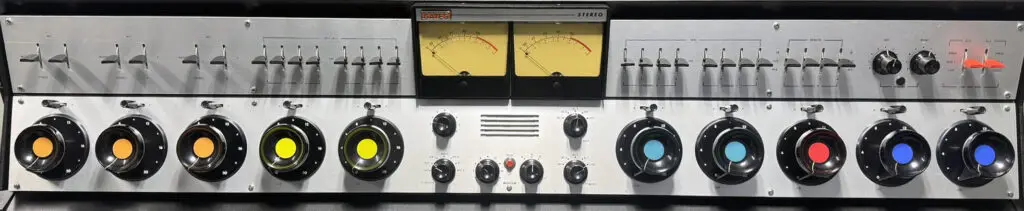
Colored dots were added to the faders to group functions, as was typical for many installations back in the day.
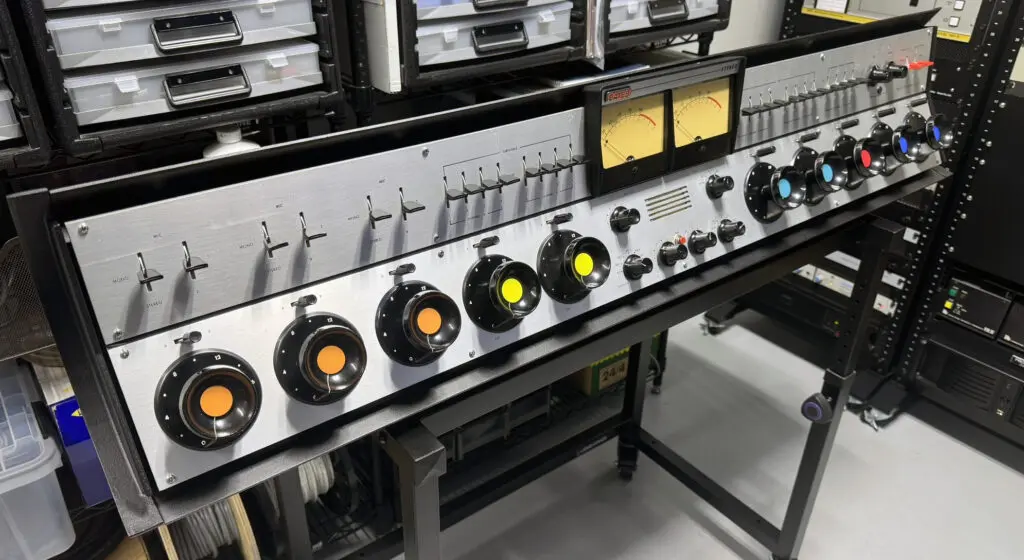
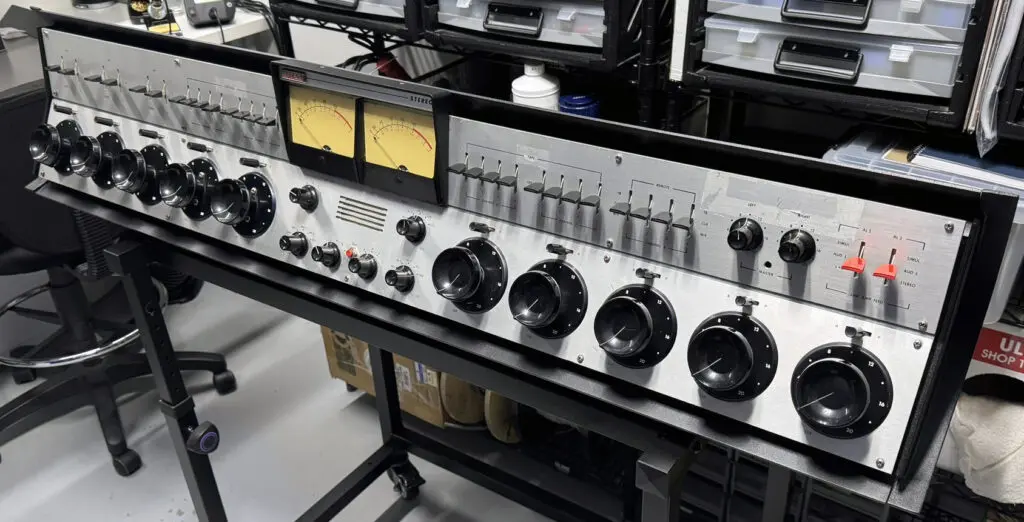
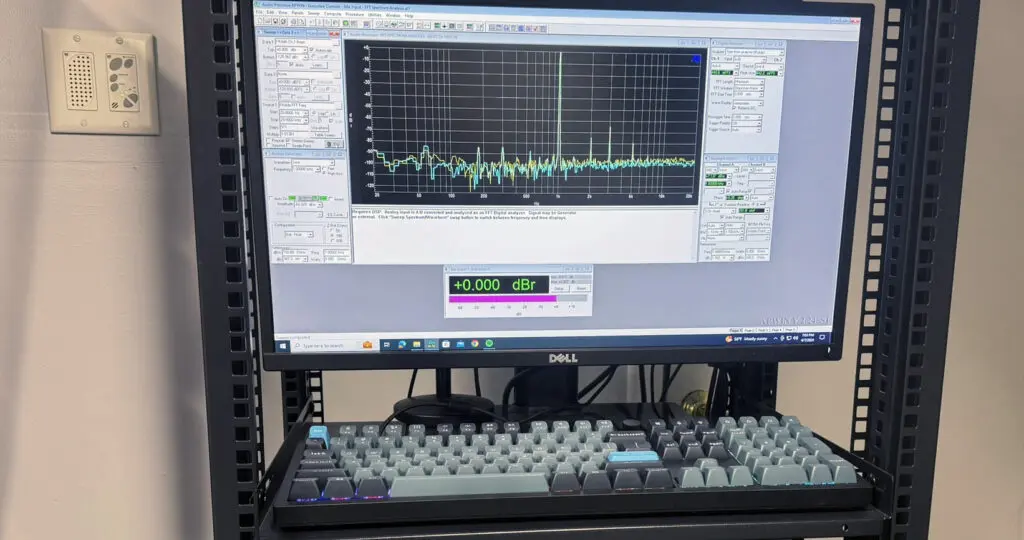
The next step was to run a full set of performance measurements on all signal paths through the console. The console is shown below during testing in the shop.
All measurements were done on an Audio Precision System One automated test set. A few issues were identified and addressed. In the end, all functions met their new equipment specifications.
The final step in the Executive console rebuild was to develop a comprehensive User/Service Manual. The finished document includes full details about the console and the newly added preamplifier and cue/amplifier boards. The results of the detailed performance measurements are also included.
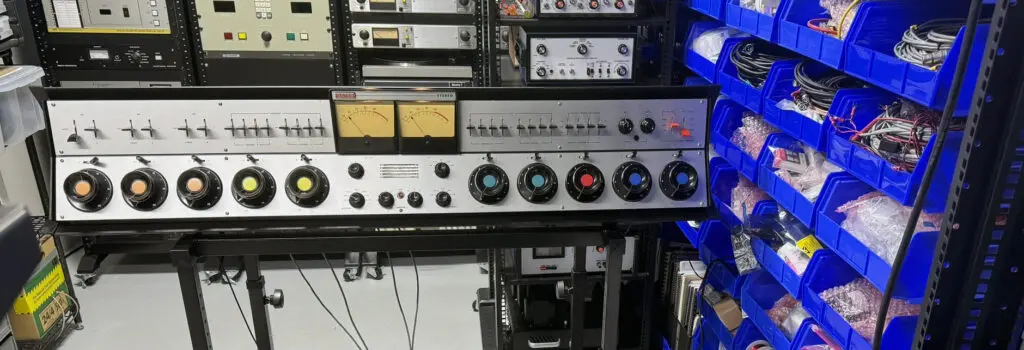
The refurbishment project now completed, the next step will be to find an appropriate home for the Executive audio console. The goal is to identify a broadcast equipment museum that can display the console, hopefully as part of a working studio. There are a number of museums across the country.
So, the search begins…